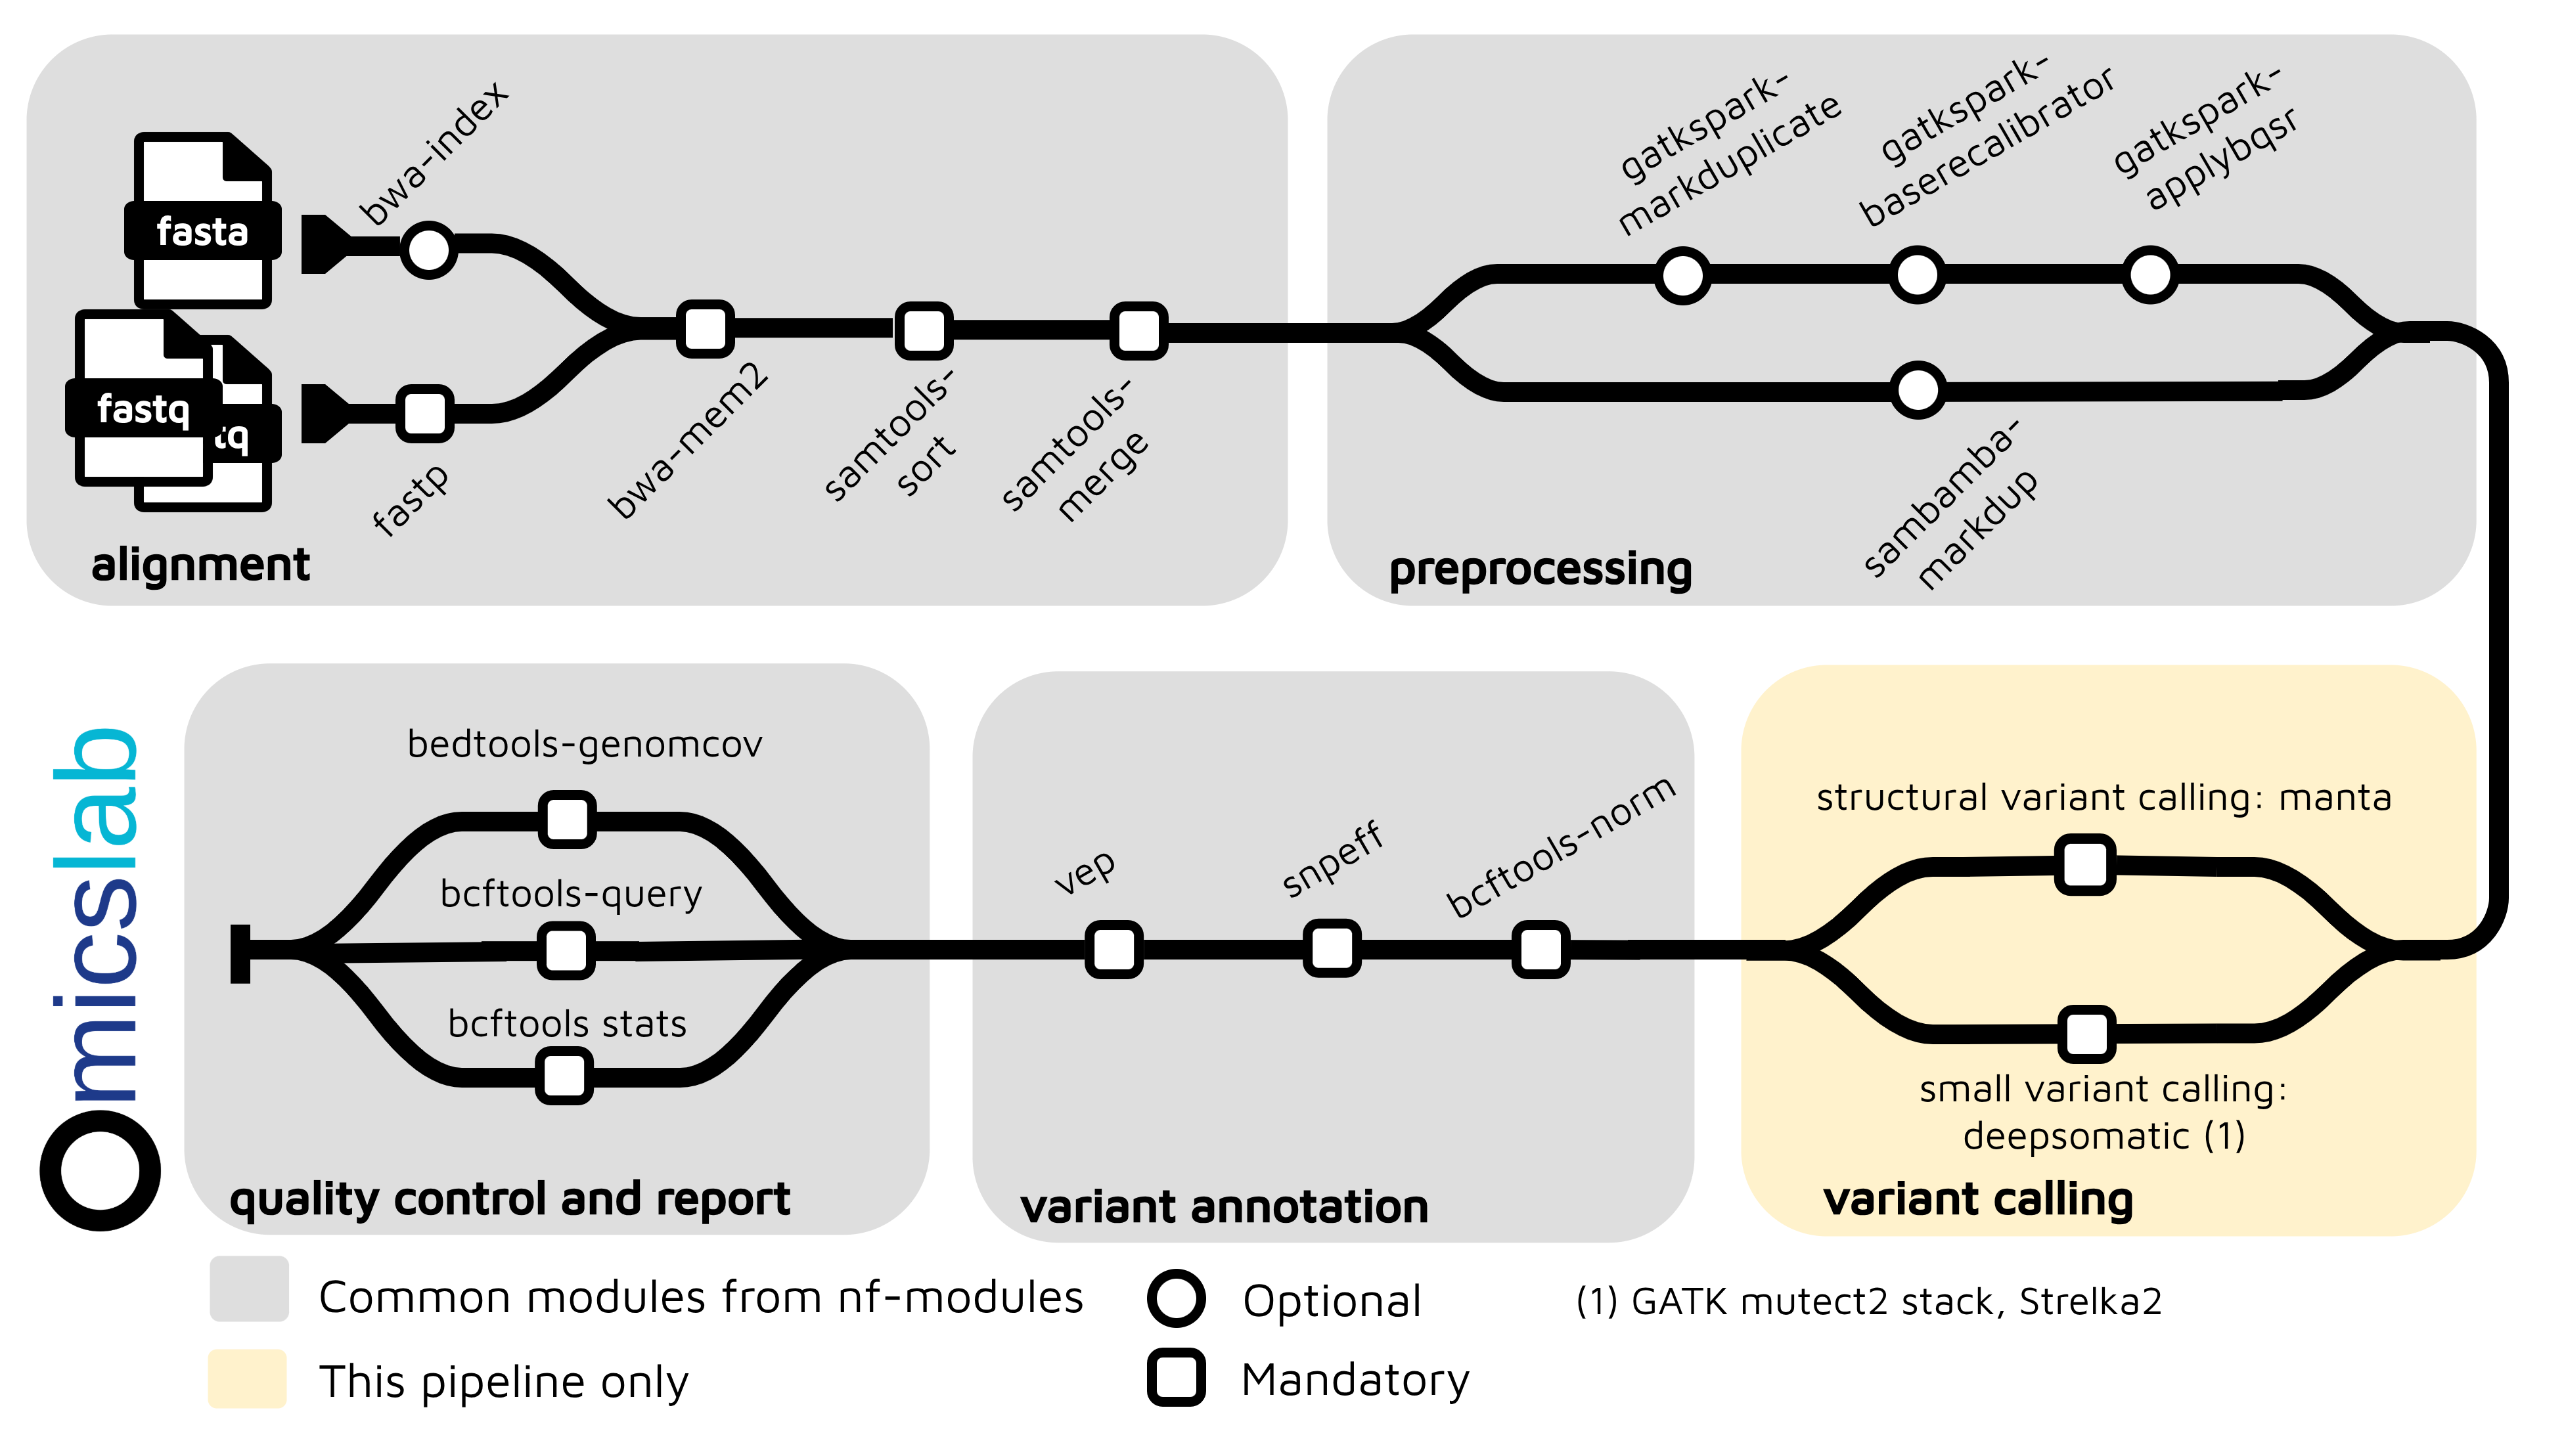

Slurm HPC Cluster Administration and Best Practices
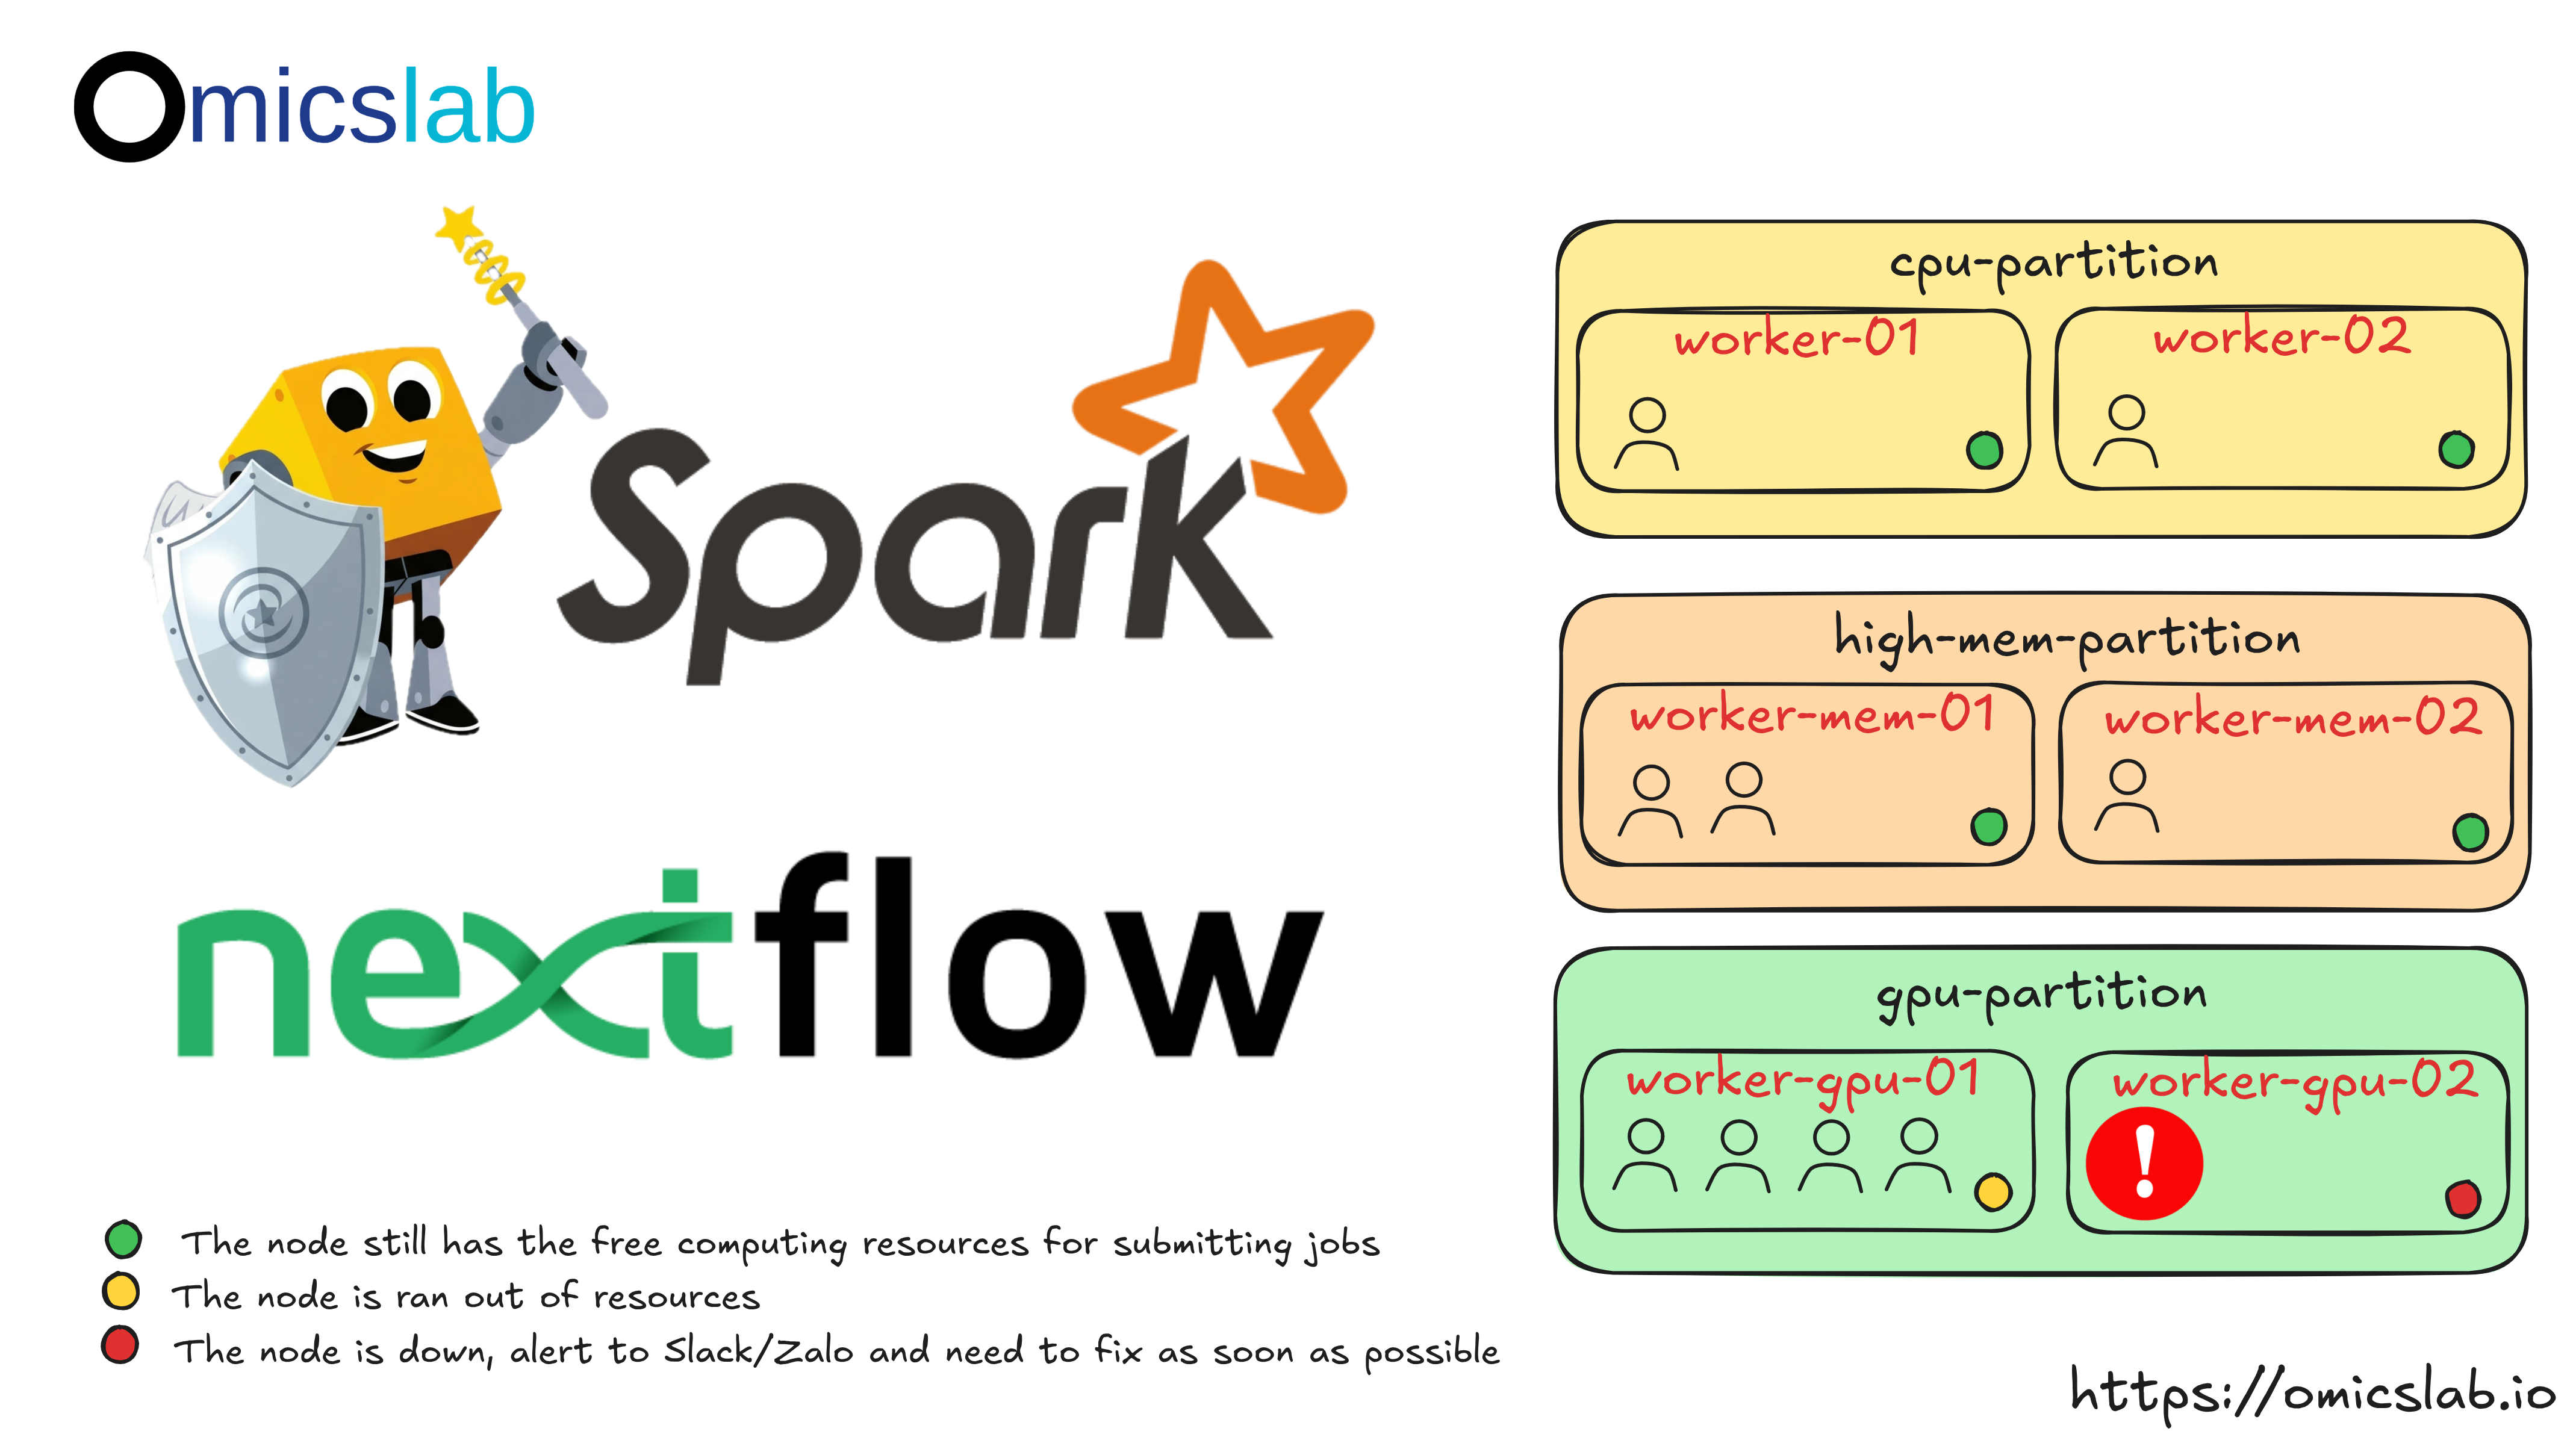
In Part 1 and Part 2, we built a complete Slurm HPC cluster from a single node to a production-ready multi-node system. Now let's learn how to manage, maintain, and secure it effectively.
This final post covers daily administration tasks, troubleshooting, security hardening, and integration with data processing frameworks.
Series Overview
- Part 1: Introduction, Architecture, and Single Node Setup
- Part 2: Scaling to Production with Ansible
- Part 3 (This Post): Administration and Best Practices
Administration Overview
Managing a Slurm cluster involves several key areas:
- Cluster Management: Build, maintain, and update the cluster via Ansible
- User Management: Synchronize users across nodes with proper permissions
- Login Security: Implement SSH hardening with 2FA or key pairs
- Resource Management: Enforce limits and fair-share policies
- Monitoring: Track performance and resource utilization
- Troubleshooting: Diagnose and resolve issues
User and Resource Management
Adding Users and Groups
Slurm uses accounts (groups) to organize users and apply resource policies:
# Add a new account/groupsacctmgr add account research_team Description="Research Team"
# Add a user to an accountsacctmgr add user john account=research_team
# Add user with multiple accountssacctmgr add user alice account=research_team,dev_team DefaultAccount=research_team
# View accountssacctmgr show account
# View userssacctmgr show userSetting Resource Limits
Account-Level Limits
Control resources for entire groups:
# Limit CPU minutes (prevents monopolizing cluster)sacctmgr modify account research_team set GrpCPUMins=100000
# Limit memory (in MB)sacctmgr modify account research_team set GrpMem=500000
# Limit concurrent jobssacctmgr modify account research_team set GrpJobs=50
# Limit concurrent running jobssacctmgr modify account research_team set GrpJobsRun=20
# Limit number of nodessacctmgr modify account research_team set GrpNodes=10User-Level Limits
Control individual user behavior:
# Limit jobs in queuesacctmgr modify user john set MaxJobs=10
# Limit running jobssacctmgr modify user john set MaxJobsRun=5
# Limit wall time (in minutes)sacctmgr modify user john set MaxWall=1440 # 24 hours
# Limit CPUs per jobsacctmgr modify user john set MaxCPUs=32
# View user limitssacctmgr show user john withassoc format=user,account,maxjobs,maxsubmit,maxwallQuality of Service (QoS)
QoS allows you to create service tiers with different priorities:
# Create QoS levelssacctmgr add qos normal priority=100sacctmgr add qos high priority=500 MaxWall=2-00:00:00 MaxJobs=5sacctmgr add qos low priority=50
# Assign QoS to accountsacctmgr modify account research_team set qos=normal,high
# Users can specify QoS when submittingsbatch --qos=high job_script.shFair-Share Scheduling
Ensure equitable resource distribution:
# Set fair-share values (higher = more priority)sacctmgr modify account research_team set fairshare=100sacctmgr modify account dev_team set fairshare=50
# View fair-share treesshare -a
# View detailed fair-share infosshare -A research_team --allNode Management
Checking Node Status
# View all nodessinfo
# Detailed node informationsinfo -Nel
# Show node statessinfo -N -o "%N %T %C %m %e %f"
# View specific node detailsscontrol show node worker-01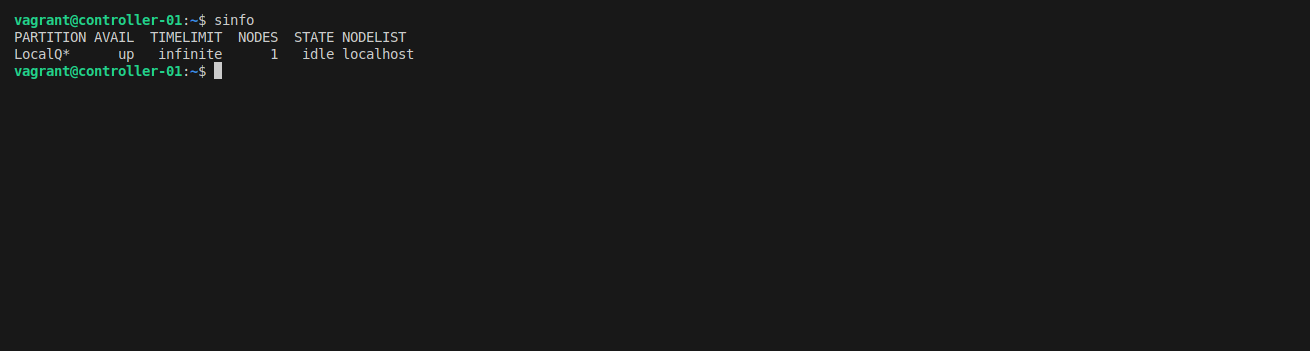
Node states you'll encounter:
- IDLE: Available for jobs
- ALLOCATED: Running jobs
- MIXED: Partially allocated
- DRAIN: Won't accept new jobs (draining)
- DRAINED: Fully drained
- DOWN: Not responding
Node Maintenance
Draining a Node
When you need to perform maintenance:
# Drain node (won't accept new jobs, allows running jobs to finish)scontrol update NodeName=worker-01 State=drain Reason="Hardware upgrade"
# Force drain (terminate running jobs)scontrol update NodeName=worker-01 State=drain Reason="Emergency maintenance"
# Check drain reasonsinfo -RResuming a Node
After maintenance:
# Resume nodescontrol update NodeName=worker-01 State=resume
# Verify it's backsinfo -n worker-01Forcing Node Down
If a node is misbehaving:
# Mark node as downscontrol update NodeName=worker-01 State=down Reason="Hardware failure"
# When fixed, resumescontrol update NodeName=worker-01 State=resumeAdding New Compute Nodes
- Update Ansible inventory (
inventories/hosts):
[slurm_worker]worker-01 ansible_host=192.168.58.11worker-02 ansible_host=192.168.58.12worker-03 ansible_host=192.168.58.13 # NEW- Run Ansible playbook:
ansible-playbook -i inventories/hosts cluster_slurm.yml --limit worker-03-
Update
slurm.confon controller and all nodes (Ansible handles this) -
Restart slurmctld:
sudo systemctl restart slurmctld- Verify the new node:
sinfoscontrol show node worker-03Monitoring and Troubleshooting
Checking Slurm Logs
Logs are essential for diagnosing issues:
# Controller logssudo tail -f /var/log/slurm/slurmctld.log
# Worker node logs (on compute nodes)sudo tail -f /var/log/slurm/slurmd.log
# Database logssudo tail -f /var/log/slurm/slurmdbd.log
# Filter for errorssudo grep "error" /var/log/slurm/*.log
# Filter for specific nodesudo grep "worker-01" /var/log/slurm/slurmctld.log
# Last 100 lines with contextsudo tail -100 /var/log/slurm/slurmctld.logCommon Issues and Solutions
Issue: Node Shows as DOWN
Diagnosis:
sinfo# OUTPUT: worker-01 down ...
scontrol show node worker-01# Check "Reason" fieldSolutions:
# 1. Check if slurmd is runningssh worker-01 "sudo systemctl status slurmd"
# 2. Restart slurmdssh worker-01 "sudo systemctl restart slurmd"
# 3. Check network connectivityping worker-01
# 4. Check logsssh worker-01 "sudo tail -50 /var/log/slurm/slurmd.log"
# 5. Resume the nodescontrol update NodeName=worker-01 State=resumeIssue: Jobs Stuck in Pending
Diagnosis:
squeue# See jobs in PD (pending) state
# Check why job is pendingsqueue --start -j JOB_ID
# View detailed job infoscontrol show job JOB_IDCommon reasons:
Resources: Not enough resources availablePriority: Lower priority than other jobsDependency: Waiting for another job to completeQOSMaxJobsPerUser: User has too many jobs running
Solutions:
# 1. Check available resourcessinfo -o "%P %a %l %D %N %C"
# 2. View job requirementsscontrol show job JOB_ID | grep -E "Partition|NumNodes|MinMemory"
# 3. Cancel job if neededscancel JOB_ID
# 4. Modify pending jobscontrol update JobId=JOB_ID NumNodes=1Issue: Jobs Failing Immediately
Diagnosis:
# Check job statussacct -j JOB_ID
# View job output filescat slurm-JOB_ID.outcat slurm-JOB_ID.errCommon causes:
- Script errors (check shebang line)
- Missing executables
- Resource limits exceeded
- Permission issues
Issue: Accounting Database Not Working
Diagnosis:
# Check slurmdbd statussudo systemctl status slurmdbd
# Test database connectionsudo mysql -u slurm -p slurm_acct_db -e "SHOW TABLES;"
# Check slurmdbd logssudo tail -50 /var/log/slurm/slurmdbd.logSolutions:
# 1. Restart slurmdbdsudo systemctl restart slurmdbd
# 2. Verify database credentials in slurmdbd.confsudo cat /etc/slurm-llnl/slurmdbd.conf
# 3. Check database permissionssudo mysql -e "SHOW GRANTS FOR 'slurm'@'localhost';"
# 4. Restart slurmctld to reconnectsudo systemctl restart slurmctldSystem Logs with rsyslog
Our Ansible setup configures centralized logging:
# On controller (rsyslog server)sudo tail -f /var/log/syslog
# Filter by hostnamesudo grep "worker-01" /var/log/syslog
# Filter by servicesudo grep "slurmd" /var/log/syslog
# Check authentication logssudo tail -f /var/log/auth.logSecurity Best Practices
SSH Hardening
Secure your login nodes! HPC clusters are attractive targets for attackers.
For detailed SSH security setup, see our SSH Remote Server documentation.
Key recommendations:
- Disable Password Authentication:
PasswordAuthentication noPubkeyAuthentication yes-
Implement 2FA with Google Authenticator or similar
-
Use SSH Key Pairs:
# Generate key on your machinessh-keygen -t ed25519 -C "your_email@example.com"
# Copy to clusterssh-copy-id user@controller-node- Limit SSH Access:
AllowUsers alice bob charlieAllowGroups cluster_users
# Or deny specific usersDenyUsers baduser- Change Default Port (security through obscurity):
Port 2222Munge Authentication
Munge provides authentication between Slurm components:
# Verify munge is runningsudo systemctl status munge
# Test mungemunge -n | unmunge
# Generate new key (do this on controller, then distribute)sudo /usr/sbin/create-munge-key
# Copy key to all nodes (Ansible does this automatically)sudo scp /etc/munge/munge.key worker-01:/etc/munge/
# Restart munge on all nodessudo systemctl restart mungeThe munge key must be identical on all nodes and have proper permissions (0400, owned by munge).
Firewall Configuration
Restrict access to Slurm ports:
# Allow Slurm ports only from cluster networksudo ufw allow from 192.168.58.0/24 to any port 6817 # slurmctldsudo ufw allow from 192.168.58.0/24 to any port 6818 # slurmdsudo ufw allow from 192.168.58.0/24 to any port 6819 # slurmdbd
# Allow SSH from anywheresudo ufw allow 22/tcp
# Enable firewallsudo ufw enableShared Storage Best Practices
NFS Performance Tuning
Optimize NFS for your workload:
# /etc/fstab on compute nodescontroller-01:/home /home nfs4 rw,soft,rsize=262144,wsize=262144,timeo=14,intr 0 0Parameters explained:
soft: Timeout after retry (vshardwhich waits forever)rsize/wsize: Read/write buffer size (larger = better performance)timeo: Timeout valueintr: Allow interrupts
Storage Layout
Recommended directory structure:
/home/ # User home directories (SSD/NVMe) ├─ alice/ ├─ bob/ └─ charlie/
/mnt/data/ # Large datasets (HDD or object storage) ├─ shared/ # Common datasets ├─ projects/ # Project-specific data └─ scratch/ # Temporary data (auto-cleanup)
/opt/ # Shared software/modules ├─ anaconda/ ├─ modules/ └─ apps/Quotas
Prevent users from filling up shared storage:
# Set user quotassudo setquota -u alice 50G 60G 0 0 /homesudo setquota -u alice 500G 550G 0 0 /mnt/data
# Check quotasquota -u alice
# View all quotassudo repquota -aIntegration with Data Processing Frameworks
One of Slurm's greatest strengths is integration with modern computing frameworks:
Apache Spark
You can install Spark/PySpark on the conda-base (pixi) environment. To run a Spark cluster on top of the Slurm cluster can be setup on this repo: https://github.com/vieomics/omicslab-kit/tree/main/spark-on-slurm
Submit Spark jobs to Slurm:
#!/bin/bash#SBATCH --job-name=spark-job#SBATCH --nodes=4#SBATCH --ntasks-per-node=1#SBATCH --cpus-per-task=8#SBATCH --mem=32G
# Load Spark modulemodule load spark/3.5.0
# Run Spark applicationspark-submit \ --master yarn \ --num-executors 4 \ --executor-cores 8 \ --executor-memory 28G \ my_spark_app.pyRay (Distributed ML)
#!/bin/bash#SBATCH --job-name=ray-job#SBATCH --nodes=2#SBATCH --ntasks-per-node=1#SBATCH --cpus-per-task=16#SBATCH --gpus-per-node=2
# Start Ray clusterray start --head --port=6379srun --nodes=1 --ntasks=1 ray start --address=$HEAD_NODE:6379
# Run Ray applicationpython ray_train.pyDask
from dask_jobqueue import SLURMClusterfrom dask.distributed import Client
cluster = SLURMCluster( cores=8, memory="16GB", processes=2, walltime="02:00:00", queue="compute")
cluster.scale(jobs=10) # Request 10 jobsclient = Client(cluster)
# Your Dask code hereNextflow (Bioinformatics)
process { executor = 'slurm' queue = 'compute' memory = '8 GB' time = '2h'}Run with:
nextflow run nf-core/rnaseq -profile test,singularity --outdir test_rnaseq_profile_outdirMaintenance Tasks
Regular Updates
# Update cluster via Ansibleansible-playbook -i inventories/hosts cluster_slurm.yml --tags update
# Update specific nodesansible-playbook -i inventories/hosts cluster_slurm.yml --limit worker-01,worker-02Backup Critical Data
# Backup Slurm configurationsudo cp /etc/slurm-llnl/slurm.conf /backup/slurm.conf.$(date +%Y%m%d)
# Backup accounting databasesudo mysqldump -u slurm -p slurm_acct_db > slurm_acct_backup_$(date +%Y%m%d).sql
# Backup user data (use rsync for efficiency)sudo rsync -av /home/ /backup/home/Monitoring Disk Space
# Check disk usage on all nodesansible all -i inventories/hosts -m shell -a "df -h"
# Check specific directoryansible all -i inventories/hosts -m shell -a "du -sh /var/log/slurm"
# Find large filesfind /home -type f -size +1G -exec ls -lh {} \;Performance Optimization Tips
1. Tune Scheduler Parameters
# Increase scheduling frequencySchedulerTimeSlice=30
# Prioritize recent submitters lessPriorityWeightAge=1000PriorityWeightFairshare=10000
# Enable backfill scheduling with larger windowSchedulerType=sched/backfillbf_window=1440 # 24 hours2. Optimize Job Packing
# Use CR_CPU for CPU-bound jobsSelectType=select/cons_tresSelectTypeParameters=CR_CPU
# Or CR_Memory for memory-bound jobsSelectTypeParameters=CR_Memory
# Or CR_Core for mixed workloadsSelectTypeParameters=CR_Core3. Create Multiple Partitions
# Fast partition for short jobsPartitionName=quick Nodes=worker-[01-02] Default=NO MaxTime=01:00:00 State=UP Priority=100
# Standard partitionPartitionName=standard Nodes=worker-[01-04] Default=YES MaxTime=2-00:00:00 State=UP Priority=50
# Long partition for extended jobsPartitionName=long Nodes=worker-[03-04] Default=NO MaxTime=7-00:00:00 State=UP Priority=25
# GPU partitionPartitionName=gpu Nodes=gpu-[01-02] Default=NO MaxTime=1-00:00:00 State=UP Priority=754. Enable Job Arrays for Batch Processing
#!/bin/bash#SBATCH --array=1-100%10 # 100 tasks, max 10 concurrent
# Process task based on array indexpython process.py --input data_${SLURM_ARRAY_TASK_ID}.txtConclusion
Congratulations! You now have the knowledge to build, deploy, and manage a production Slurm HPC cluster. Let's recap the journey:
Part 1: Foundations
- Understanding Slurm architecture
- Single-node setup for learning
- Critical cgroup configuration
- Job accounting basics
Part 2: Production Deployment
- Ansible automation
- Multi-node cluster setup
- Monitoring with Grafana
- Slack alerting
Part 3: Administration (This Post)
- User and resource management
- Node maintenance and troubleshooting
- Security hardening
- Performance optimization
- Framework integration
References
1.Slurm Overview — Official documentation for Slurm workload manager
2.NVIDIA/deepops — Open-source cluster deployment toolkit (BSD-3-Clause License)
3.elasticluster — Elastic cluster provisioning tool (GPL-3.0 License)
4.Ansible- Ansible for IT Automation DevOps
5.GitHub Repository-Omicslab HPC- Ansible scripts for setting up the Slurm HPC
This concludes the Omicslab series on building Slurm HPC clusters. Thank you for following along! We hope this guide helps you build and manage effective HPC infrastructure.